Wigs have never gone out of fashion. In fact, whenever we need a quick hairstyle change, wigs are there to help us out. Also, they have become a piece of accessory celebrities tend to use in red-carpet events or whenever they need a quick change.
It seems that wigs have also been gaining a major stream on social media. You could see many people sharing their ultimate tips and tricks on how to seamlessly blend wigs into their natural hair. So, this got us thinking; what type of wigs are out there, and what is the easiest way to install them?
Stick to us until the end to find the answers to these questions.
Natural vs. Synthetic
Wigs can be very expensive. A high-quality wig made of human hair can cost between $400 and $5,000, depending on the hair type and who makes it. For those who don’t have money to splurge, synthetic wigs are an option, and they can sometimes cost under $100.
Unfortunately, with low cost comes poor quality so expect synthetic wigs to last you only a couple of months. But, if you decide to invest your money in a wig made of human hair, it will pay off because you will be using it for years to come.
Types of wigs
Ready-made wigs
They are mass-produced, and you can usually find them at local vendors or beauty supply stores. In most cases, ready-made wigs are synthetic and pre-styled, which means one-size-fits-all. They could be great for people who don’t have money to invest in high-quality pieces.
Since ready-made wigs are budget-friendly, they can set you back from $20 to $400, though the average price is $150.

Lace-Front Wigs
In a lace front wig, the individual hairs are hand-tied into a very fine, almost undetectable lace material at the front hairline. This feature gives the hairline a highly natural look and it seems like the hair is growing directly from the scalp. They cost between $100 and $500.
Closure wigs
Closure wigs are similar to frontals but offer fewer styling options. Instead of a strip of silk or lace that goes from temple to temple, a closure is typically a 4×4-inch patch installed on top of the hairpiece. Closures are also less expensive than frontals, which makes them more appealing.
Full-Lace Wigs
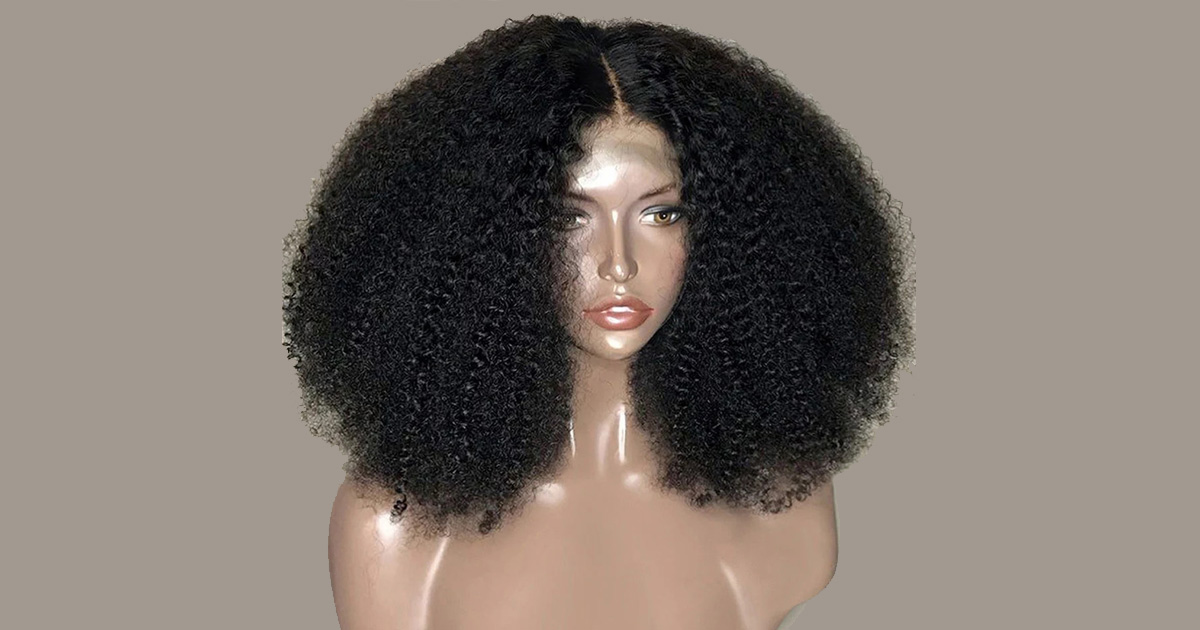
Full-lace wigs are made of human hair and a lace cap while offering the most versatility. You will be able to part your hair in any way you want. Whether you want cornrows or ponytails, a full-lace wig allows you unlimited styling options.
To install a full lace wig, you first have to braid your natural hair into cornrows, usually starting back. It’s also necessary to apply adhesive glue around the hair’s perimeter to keep everything in place. Based on quality, a full-lace wig can cost anywhere between $200 and $5,000.
Custom wigs
As the name implies, these wigs are made specifically for one person, with head size and style preferences in mind. A hair professional creates a base, usually from a stocking cap or a lace, fitted to the customer’s head and then sews in the hair of their choice. They are available as full-lace wigs and lace-frontal and usually cost more than $200.
What are short hair extensions?
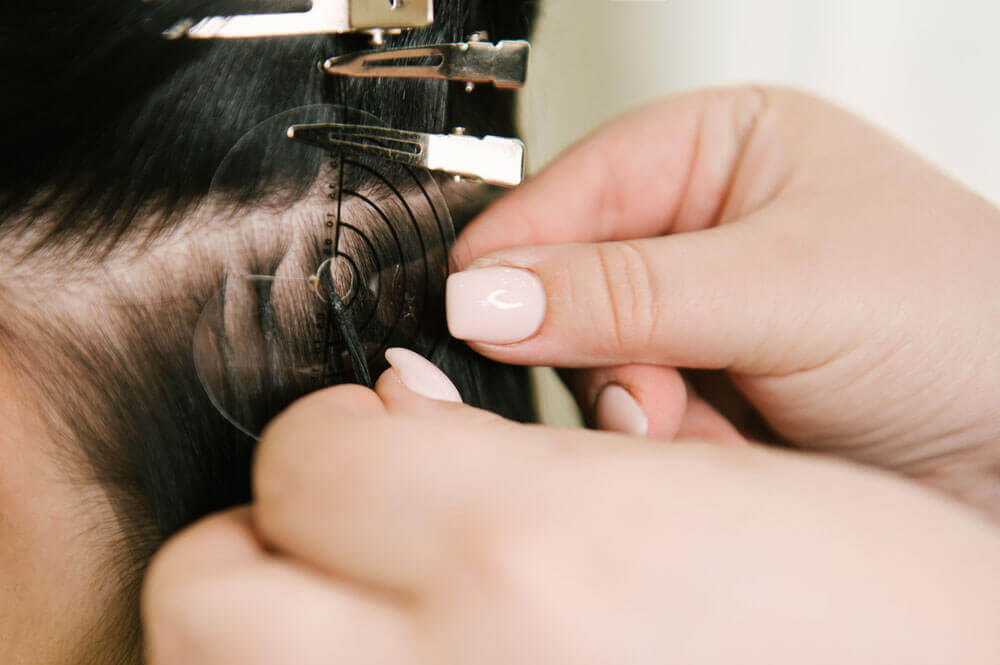
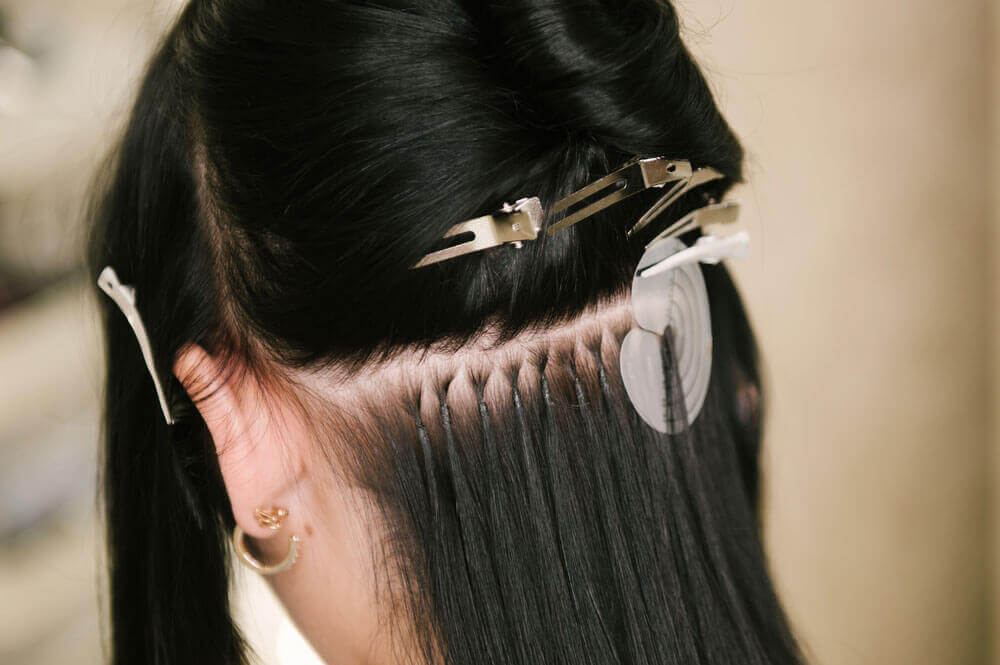
It goes without saying that the long hair you have, the easier it is to blend your extensions. The best hair extensions for short hair are the tape ones and are much better than clip-ins.
They are almost invisible and won’t damage your natural hair. Tape extensions are also a good option because they won’t tug or pull your natural hair, especially if you have thin or short hair. But make sure a qualified professional installs them.
A wig installation process
In this step-by-step, we will show you how you can install a full lace wig for a flawless finish.
Prepare your hair
As with any process, preparation is the key. Wigs can be an excellent protective style that tuck away all your strands while promoting length retention and growth. You should start by doing 8-10 cornrows at the back.
This will ensure that your hair lies flat underneath the wig and prevent bumps. Clean and healthy hair is also important, so you want it to be properly cleansed, moisturized, and detangled before braiding it back. You should also consider doing a deep conditioning treatment.

Apply a stocking cap
A stocking cap is made of stocking, a material that is designed to protect your hair from any glue or gel you use to secure your wig; for best results, use a stocking cap that has a color similar to your complexion. If you can’t find one, apply a fair-colored cap.
One of the ways to put the cap is a little over your hairline and then use any freeze spray to melt the cap. You should spray around the perimeter of the cap. Once the spray dries, cut the wig cap along the hairline.
This way, you will accomplish a bald look. Next, apply wig tape or lace glue along the perimeter of your hairline. Wait at least five minutes for the glue to dry. It’s recommended to apply at least two coats.
Apply the wig
Now that you have secured the stocking, it’s time to apply the wig. This part can be challenging, and you will need a steady hand. Make sure the glue you’ve applied has died, but it’s tacky to the touch.
Put the wig on with the lace part on top of your hairline. It needs to look natural and feel comfortable, and then secure it with a wig strip. Before cutting the lace, you should leave this wig band on for 20 minutes.
Cut lace slowly and do it in jagged motions to imitate imperfections of the natural hairline. If you have never installed wigs, you need to check out a few YouTube and Instagram tutorials.
Style
Now comes the fun part, styling. You can style the rest of the hair while keeping the elastic band on to save time. Also, don’t forget to read the instructions that come with the wig to determine the amount of heat you can apply.
You can curl, brush, or style your wig to accomplish a completely different hairstyle. The beauty of wigs lies in the fact that you can rock short hair one day and then switch to long beach waves the next.
How to install a frontal wig?
Frontal wigs are quite popular at the moment because they don’t move and look like a person’s natural hair. So, here is how you can install a frontal wig.
Get a good glue
To apply the wig to your head, you will need to use a good glue that won’t damage your hair and keep the wig from moving.
Hair wax
With the help of wax hair, you can lay out your edges properly and style baby hair. You will also need a good rat tail comb to style all that front hair.
Put the wig on
Take the lace frontal and place it on your head while adjusting the spots where you want to secure it. If you need extra help, use eyeliner to mark points that will mimic your hairline.
Use a rat tail comb to part the hair just above your ear and begin cutting excess lace around the ears and hairline. Place glue along the edges of your stocking cap while avoiding hair. The glue shouldn’t be overly tacky or stringy. Apply the wig on top of the glue and make sure it’s in the right spot before pressing it into the glue.
Put rubbing alcohol on a towel and carefully clean the edges to remove excess glue. The final step is styling the wig, and you are ready to go.
If you aren’t sure how to install the wig properly, type “wig install near me” into your browser and pick a hairdresser with the best reviews.

How to maintain wigs?
To keep your wigs in perfect condition, you need to wash them properly. Start by using a wide-tooth comb to smooth the wig, but make sure not to stretch any hair fibers.
Next, fill the basin with cool water, add shampoo, dung the wig in the water, and let it sit for a couple of minutes. You can use regular shampoo or one that’s specifically designed for wigs.
Wash the wig carefully and then take the wig out of the water and refill basing with cool, clean water. Rinse the wig to remove shampoo. Empty the basin and fill it with fresh water, add a bit of conditioner, and gently swish it through the water.
When drying a wig, don’t use heat on synthetic wigs; instead, bloat it with a dry towel.
Conclusion
Choosing the right type of wig can be a challenging process, but we hope these tips will help you select the wig that will fit your style and personality. If you have tried any of these wigs, tell us your impressions!

 Bundles (Weft)